LEGO® Classic Brick Separator
How to use the Brick Separator
Are you ready to break down your LEGO® creation and build something completely new with the pieces? No need to strain your fingers to separate hard-to-remove elements—there’s a better, safer way! The brick separator is the ultimate tool for taking apart your bricks! Just follow these un-building instructions and you’ll be on your way to your next LEGO build.
LEGO plates have strong clutch power and really like to stick to studs – here’s an easy way to get them to come off so you can use them somewhere else!
- Press the front part of the brick separator down on top of two studs of the plate. The brick separator should click into place like a normal LEGO brick.
- Press down on the back of the brick separator, using the ridges for a secure grip. Make sure the rest of your LEGO set isn’t moving – you may need to hold it in place with your other hand.
- The front of the brick separator has an angled part on the bottom of it. As you press the back of the brick separator down, this angle should cause the plate to easily separate from the other piece.

LEGO plates are excellent at sticking to the bottom of other LEGO elements. The brick separator is the perfect thing for prying that plate free!
- Press the two studs at the front of the brick separator up underneath the LEGO plate. The brick separator should click into place just like a normal LEGO brick.
- Press up on the back of the brick separator, using the ridges for a secure grip. Make sure the rest of your LEGO set isn’t moving – you may need to hold it in place with your other hand.
- The front of the brick separator has an angled part on the top of it. As you lift the back of the brick separator up, this angle should cause the plate to easily separate from the other piece.

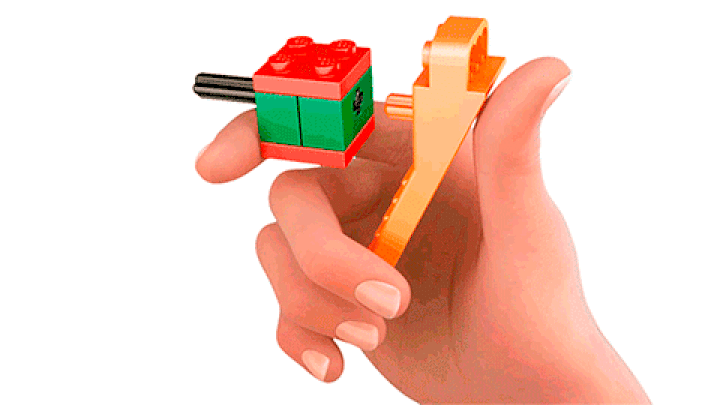
LEGO Technic™ beams add a lot of stability to LEGO builds when you use them inside of a brick that has a cross hole. Someday, though, you may want to take that Technic beam out and use it for something else. When that day comes, you’ll be glad you have your brick separator handy.
- Take the LEGO brick that has the Technic beam in its cross-hole and hold it securely so that it doesn’t move.
- The top of the brick separator has a portion of it that’s shaped like a tiny Technic beam – a T-segment. Move this T-segment so that it lines up exactly with the cross hole of the brick with the technic beam inside it.
- Press the brick separator so that the T- segment goes into the brick’s cross hole – this will cause the technic beam to pop out of the other side of the brick.
No studs? No problem! The brick separator is a great choice for prying up LEGO tiles.
- Take the edge of the brick separator that says “LEGO” on it – the “reverse” side” and slide it in the space where the tile meets the studs.
- Press down on the opposite side of the brick separator so that it lifts up the “reverse” side like a lever. Make sure the rest of your LEGO set isn’t moving – you may need to hold it in place with your other hand.
- The edge of the brick separator should pop the LEGO tile free.

The LEGO Art brick separator makes it easy for you to remove one or more tiles when building and rebuilding your iconic pieces of art.